Hey there, fellow art enthusiasts! Today, I’m diving into something that’s been my obsession for the past few months: urban sketching. If you’ve never heard of it, don’t worry—it’s essentially about capturing cityscapes and life as you see them with your own eyes, all on paper. Imagine sitting at a bustling café or on a park bench, sketchbook in hand, trying to capture that unique vibe of the place. It’s exhilarating!
Urban sketching is not just about drawing buildings; it’s about narrating stories through images. Each sketch tells its own tale—sometimes vibrant and lively, other times calm and serene. I remember the first time I tried my hand at it—I was nervous! Armed with only a pencil and some courage, I parked myself on a worn-out bench near our town square. The scene was busy with people rushing around, street vendors shouting their sales pitch…it felt like chaos in motion.
I started with rough outlines—a lamppost here, a shop window there—but soon enough, everything began to come together like pieces of a jigsaw puzzle. Sure, my first attempt wasn’t exactly worthy of an art gallery display (who am I kidding?), but it captured the essence of what was happening right then and there.
If you’re thinking about giving urban sketching a shot—and you totally should—there are some techniques that might help ease your way into this world. First off: embrace imperfection! Seriously. Urban sketches aren’t supposed to be perfect replicas; they’re spontaneous snapshots of reality through your eyes.
One technique that helped me immensely was starting with basic shapes before diving into details—a trick I learned during one of those weekend workshops where everyone’s equally clueless yet eager to learn (you know what I’m talking about). By focusing on simple forms like rectangles for buildings or ovals for trees initially—you gradually build up complexity without overwhelming yourself from the get-go.
Now let’s talk tools because hey—they matter too! While there’s no need for fancy gear when starting out (trust me), having some basics can make life easier down the line:
1. **Sketchbook:** A good quality one goes miles since it’ll hold your work together even if things get messy.
2. **Pencils & Pens:** Mechanical pencils are great since they eliminate sharpening hassle mid-sketch while fineliners provide depth once initial lines are set.
3. **Watercolors/Brush Pens:** These add color beautifully without needing tons of equipment—just swish over pen outlines!
4. **A Compact Chair/Stool:** Trust me; comfort matters especially during longer sessions outdoors.
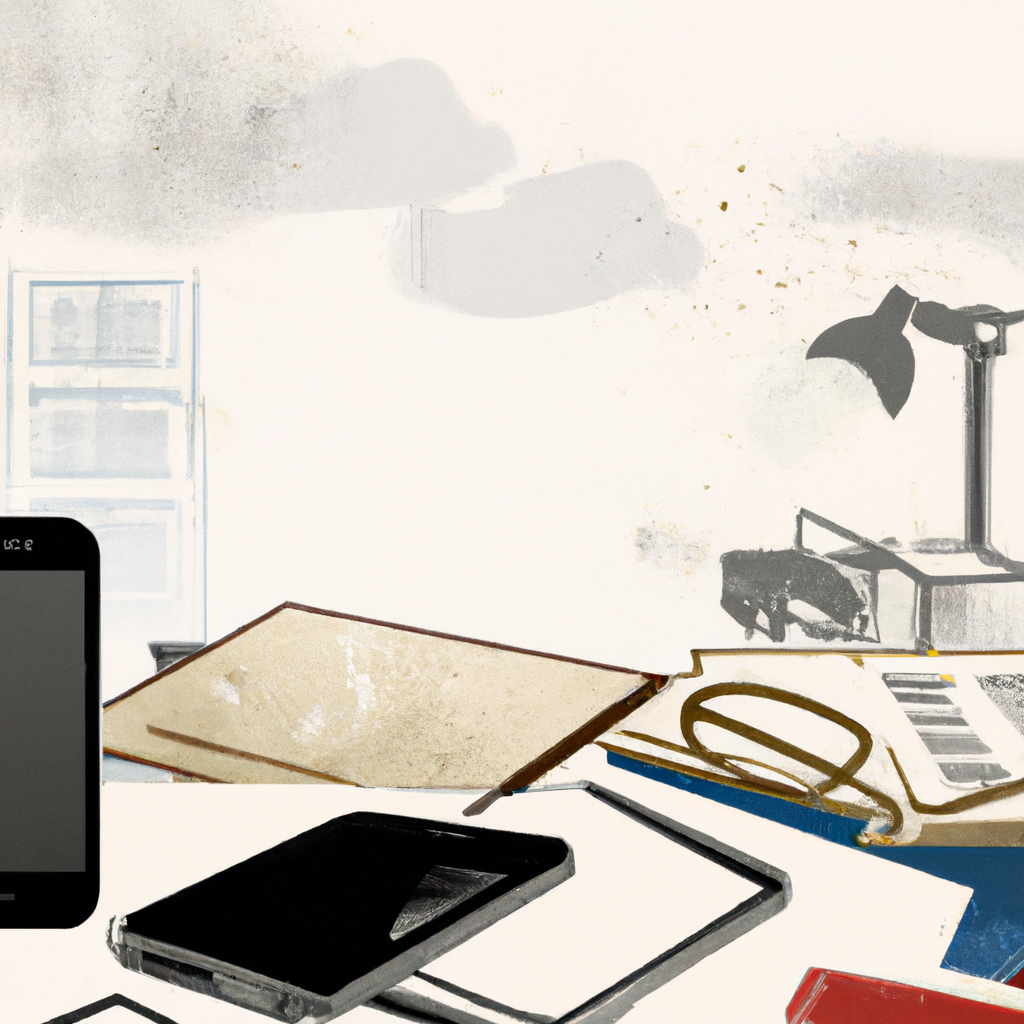
Every so often I’ll stumble upon seasoned artists using digital tablets instead—which honestly makes sense given how tech-savvy everything has become—but nothing beats flipping through pages filled with personal victories (and occasional disasters) within an actual physical notebook—it’s almost therapeutic!
During one sunny afternoon session along River Street last spring—I decided to try adding watercolors post-sketch after watching another artist effortlessly blend hues into her piece nearby… Boy oh boy did mine turn out looking more abstract than planned BUT surprisingly refreshing nonetheless! Maybe it wasn’t picture-perfect realism but hey—that’s part-and-parcel when experimenting creatively isn’t it?
So next time you’re wandering around town aimlessly consider bringing along something small yet mighty—a humble little book waiting eagerly inside bags till inspiration strikes randomly amidst everyday scenery unfolding right before us all… Who knows? You might find yourself hooked onto urban sketching just like yours truly here!
Anyway folks—that wraps up today’s ramble-about-town themed musings—I hope these insights spark curiosity enough nudging ya towards exploring this rewarding journey firsthand eventually too someday soon perhaps? Keep scribbling away until then pals ✍️


